Digital Overdenture TechniqueRemovable Zest LOCATOR® System
A removable overdenture on Zest LOCATOR® abutments, from digital records. Pick up the housings chairside, or let AvaDent place them and save chair time.
3 appointmentsZest LOCATOR® abutmentsChairside or no chairside pickup
If an existing or immediate denture is present, relieve the implant sites and verify passive, pressure-free seating.
2
Capture a light-body wash impression with the LOCATOR abutments in the mouth or the housings in place.
3
Capture the bite scan and complete a 360° scan of each denture.
4
For no chairside pickup, place Zest scan bodies on the abutments and scan intraorally. Submit all required records to AvaDent.
Light Body Wash ImpressionWith LOCATOR abutments or housings in place
Digital Scan RecordsBite scan and 360° denture scans
02
Appointment 2 of 3
Try-In Appointment
1
Seat the full-color prototype with the LOCATOR housings in place.
2
Verify fit, esthetics, phonetics, and occlusion.
3
Make necessary adjustments and confirm with the patient.
4
If changes are made, capture and submit updated records.
Full-Color Try-InWith LOCATOR housings in place
Before the final appointment: AvaDent designs and mills the prosthesis from your records.
03
Appointment 3 of 3
Final Fit Options
Choose the delivery technique based on whether the LOCATOR housings will be picked up chairside, or have AvaDent do the work and save chair time with no pickup.
Option 1 – Chairside Pickup
1
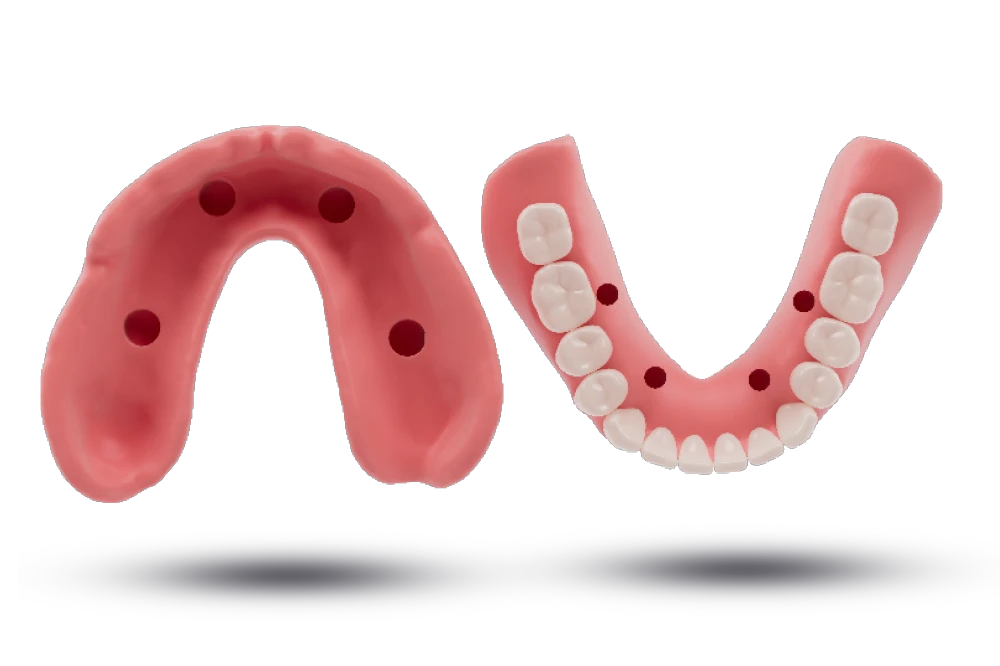
Seat the AvaMax Overdenture with LOCATOR recesses and verify adequate clearance for the housings.
2
Perform the chairside pickup to secure the LOCATOR housings.
3
Replace the processing inserts with the appropriate final retention inserts.
4
Verify passive fit, retention, and occlusion. Provide patient care instructions.
Option 2 – No Chairside Pickup*
1
Seat the AvaMax Overdenture with preprocessed LOCATOR housings and processing inserts in place.
2
Verify passive fit and replace the black processing inserts with the appropriate final retention inserts.
3
Confirm retention and occlusion. Provide patient care instructions.
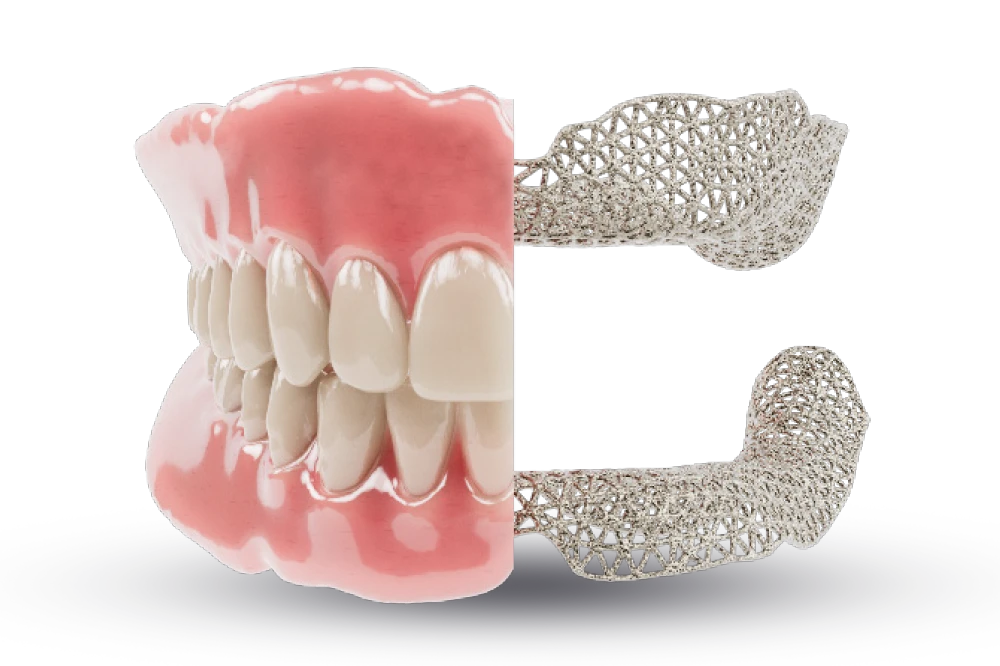
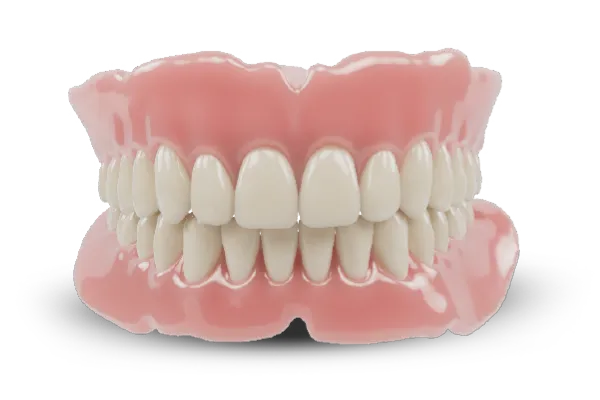
Fully Milled OverdentureWithout titanium frame
AvaMax OverdentureWith titanium frame
* No chairside pickup: AvaDent robotically places the housings with black processing inserts.