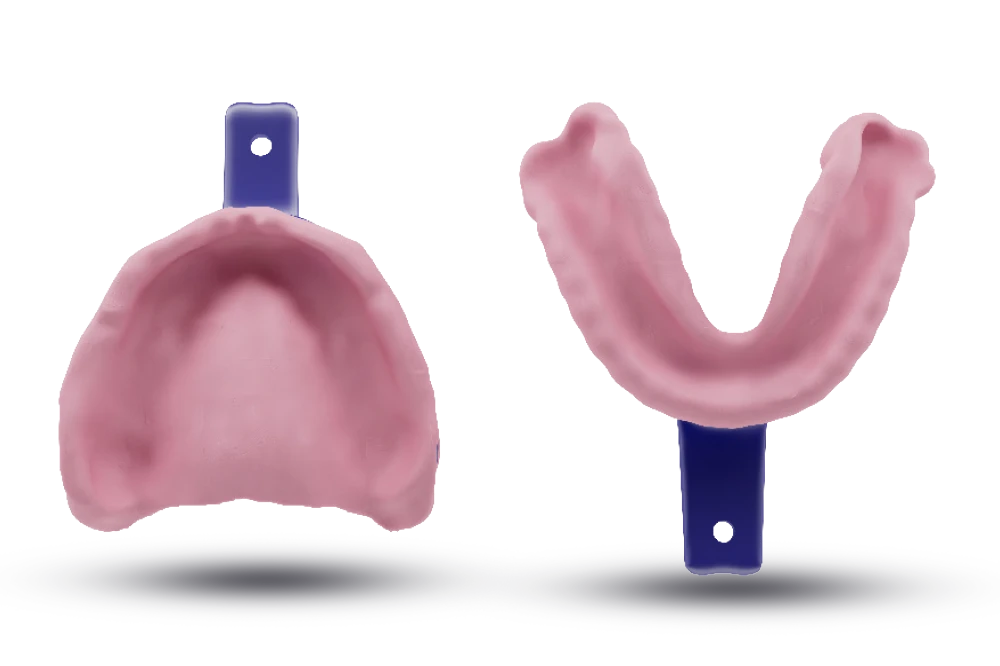
Take an abutment-level impression over the LOCATORs and capture the soft tissue around the abutments precisely. For no chairside pickup, stone models are required.
2
Remove all housings before shipping.
3
Ship the impressions to AvaDent.
Analog ImpressionAbutment-level, shipped to AvaDent
02
Appointment 2 of 4
Wax Rim Appointment
1
Verify fit. Adjust and/or take a wash impression as needed.
2
Seat the wax rims with LOCATOR pockets to verify vertical dimension and occlusion.
3
Record the midline, smile line, and occlusal plane.
4
Capture the bite registration.
5
Ship the wax rims and/or stone model of the opposing arch and the bite registration to AvaDent.
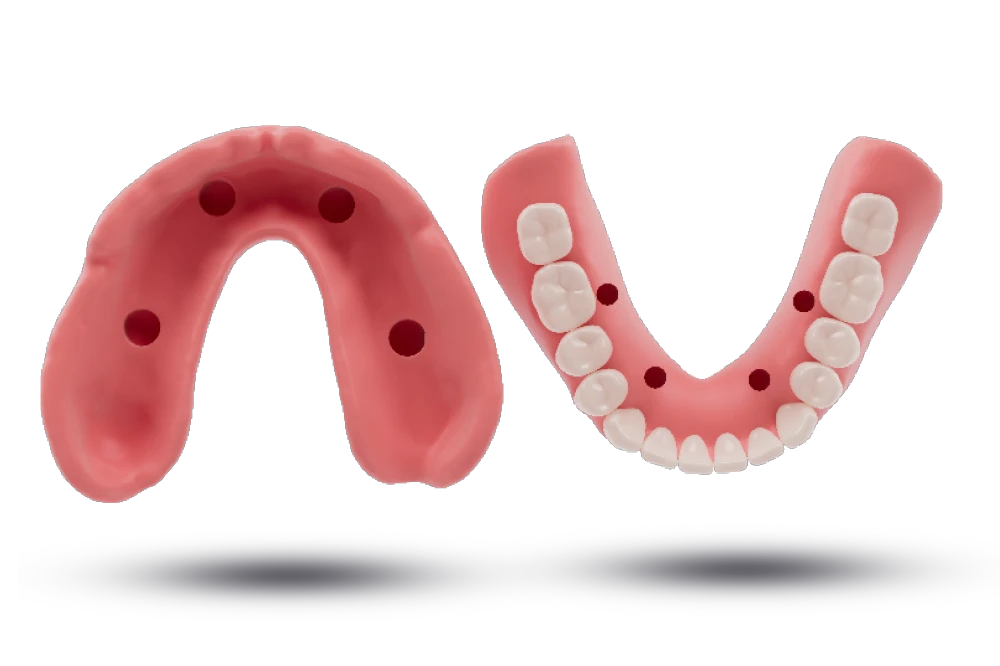
Base Plate with Wax RimWith LOCATOR pockets
03
Appointment 3 of 4
Try-In Appointment
1
Try in the full-color prototype denture with the LOCATOR pockets and housings in place.
2
Verify fit. Adjust and/or take a wash impression as needed.
3
Verify esthetics, phonetics, and occlusion.
4
Make adjustments as necessary and confirm with the patient.
5
Ship the try-in to AvaDent.
Full-Color Try-InWith LOCATOR pockets and housings
Before the final appointment: AvaDent designs and mills the prosthesis from your records.
04
Appointment 4 of 4
Final Fit
1
Place the AvaMax Overdenture with LOCATOR recesses.
2
Use the chairside pickup technique to engage the housings.
3
Confirm passive fit and retention, and provide patient care instructions.
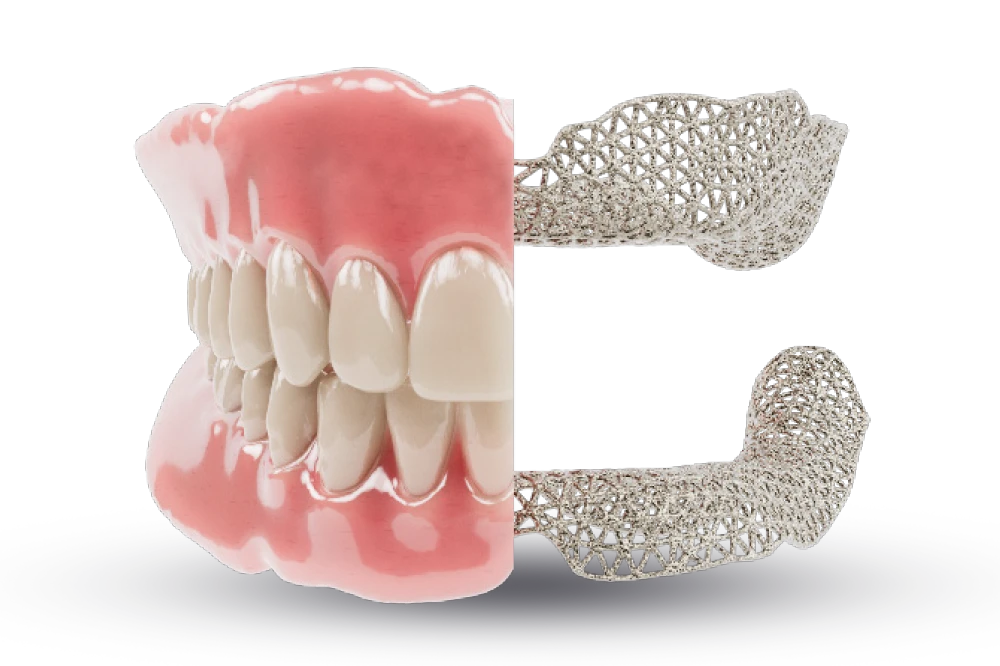
Fully Milled OverdentureWith or without titanium frame (AvaMax)
AvaDent will continue to accept physical models and digitize them for an additional fee; however, digital scanning is preferred for greater accuracy, faster case submission, and a more efficient workflow.