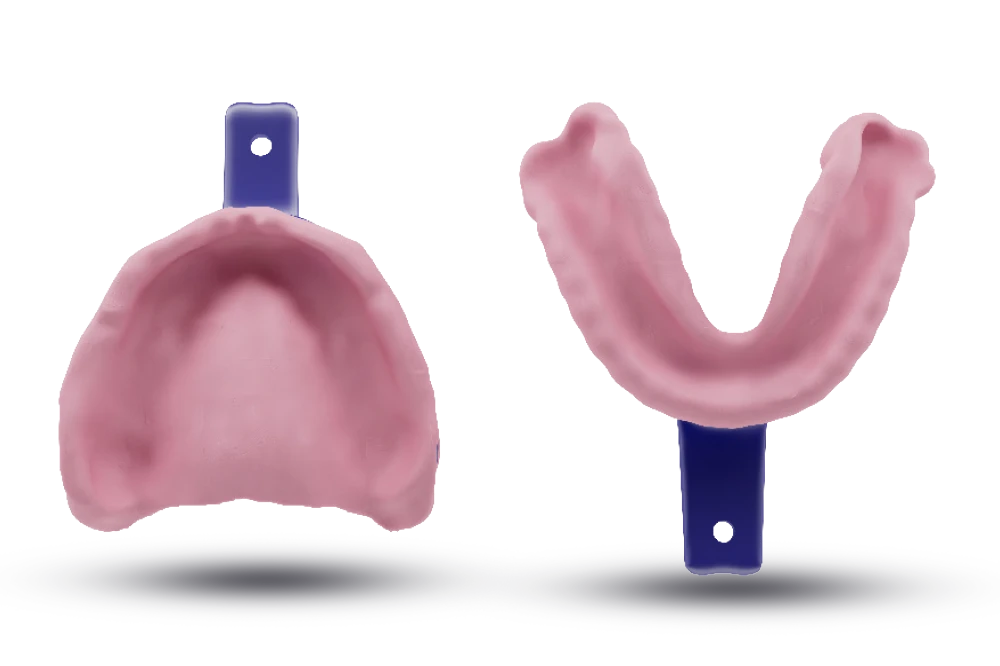
Complete the Rx order form in the AvaDent Portal and ship the impressions to AvaDent for a base plate with wax bite rim.
Analog ImpressionFinal impressions, shipped to AvaDent
02
Appointment 2 of 4
Wax Rim Appointment
1
Verify fit. Adjust and/or take a wash impression as needed.
2
Seat the wax rims to verify the vertical dimension and occlusion.
3
Verify or modify the occlusal plane.
4
Mark the midline, smile line, and canines.
5
Make the bite registration.
6
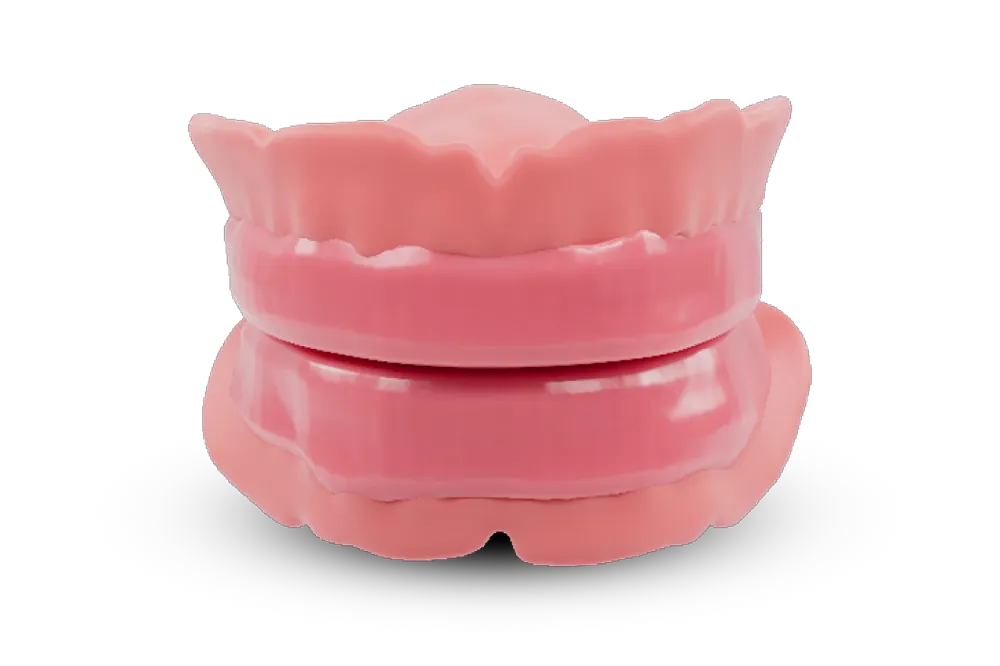
Ship the wax rims and/or stone model of the opposing arch and the bite registration to AvaDent.
Record Bases with Wax RimShipped to AvaDent with the bite registration
03
Appointment 3 of 4
Try-In Appointment
1
Verify fit; adjust and/or take a wash impression if needed.
2
Seat the try-in and confirm midline, incisal edge, VDO, lip support, esthetics, and bite.
3
If all records are correct, submit to AvaDent for the final denture.
4
If changes are needed, repeat the wax rim steps and ship to AvaDent for redesign.
AvaDent | Try-InFull-color printed try-in
Before the final appointment: AvaDent designs and mills the prosthesis from your records.
04
Appointment 4 of 4
Final Fit
1
Seat the final denture fabricated by AvaDent.
2
Perform fit adjustments and patient education.
3
Schedule a follow-up for sore spot relief if needed.
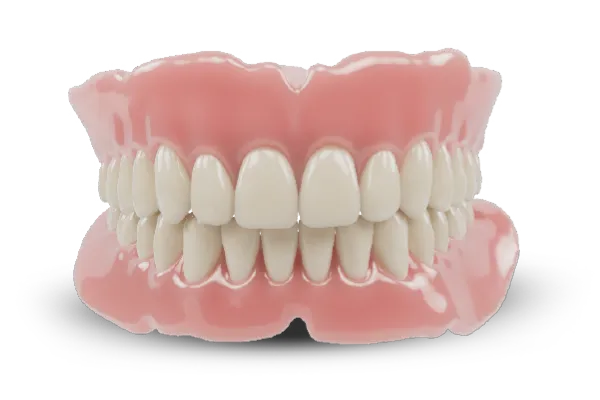
Final Denture | XCL-2Fully milled denture, multi-layered teeth
AvaDent will continue to accept physical models and digitize them for an additional fee; however, digital scanning is preferred for greater accuracy, faster case submission, and a more efficient workflow.