




A successful flabby ridge impression technique records mobile tissue near its resting position while directing functional load toward more stable supporting areas. Because a conventional impression can displace a flabby ridge, an apparently accurate cast may produce a denture that rocks, loses retention, or traumatizes tissue in function. Careful assessment, controlled tray relief, and an appropriate low-pressure technique help clinicians create a more reliable foundation for digital denture design.
Clinical summary: Use selective pressure for limited mobility when stable support areas are available. Consider a window or dual-tray technique when a broad ridge is easily displaced. If direct intraoral scanning cannot capture the mobile tissue predictably, make a controlled analog impression, digitize the impression or cast, and continue through a digital fabrication workflow.
Why does a flabby ridge complicate denture impressions?
A flabby ridge is an area of mobile fibrous tissue over an edentulous ridge. It is most often associated with the anterior maxilla, although it can occur elsewhere. A published clinical review reports flabby tissue in approximately 24% of edentulous maxillae and 5% of edentulous mandibles. The finding matters because mobile tissue behaves differently from firm mucosa over supportive bone.
During a conventional impression, viscous material, an overextended tray, or excessive seating force can move the tissue away from its resting position. The tissue then rebounds after the impression is removed. A denture made on that displaced record may contact the mobile region prematurely, destabilize under occlusal load, or create recurring soreness. The objective is not simply to capture surface detail. It is to record the ridge in a condition that supports a stable prosthesis.
The clinician must also distinguish tissue displacement from other causes of instability. Border overextension, inadequate extension, poor posterior palatal seal, unfavorable ridge anatomy, and occlusal discrepancies can all affect retention. A flabby ridge impression technique addresses one important variable, but it cannot compensate for errors elsewhere in the complete denture workflow.
How to assess a flabby ridge before selecting a technique
Map mobility and identify support
Begin with visual inspection and gentle palpation. Dry the ridge, observe its contour, and use light pressure to identify the boundary between mobile and relatively firm tissue. Note the direction and degree of movement, the size of the affected area, and whether the tissue is inflamed or ulcerated. Marking the mobile region with an indelible pencil before a preliminary impression can transfer its outline to the cast and guide tray relief or window design.
Assessment should extend beyond the flabby area. Evaluate vestibular depth, frena, tuberosities, palatal form, mandibular support, jaw relationship, salivary conditions, and the existing prosthesis. Review the patient's health, ability to tolerate treatment, expectations, and history of denture instability. These findings determine whether a conservative impression approach is suitable and whether the treatment plan needs specialist input.
Use a repeatable pre-impression checklist
- Inspect and palpate the ridge with minimal pressure.
- Outline mobile tissue and document its location and extent.
- Identify firm areas capable of accepting controlled load.
- Make a preliminary impression without unnecessarily compressing the ridge.
- Design relief, perforations, or a window based on the clinical map.
- Confirm that the trial tray does not contact or displace the mobile area.
Before the definitive impression, explain that a complex ridge may require additional records or a remake if the tissue is displaced. This expectation supports clinical judgment and discourages acceptance of a compromised impression simply to avoid another appointment.
Comparing flabby ridge impression techniques
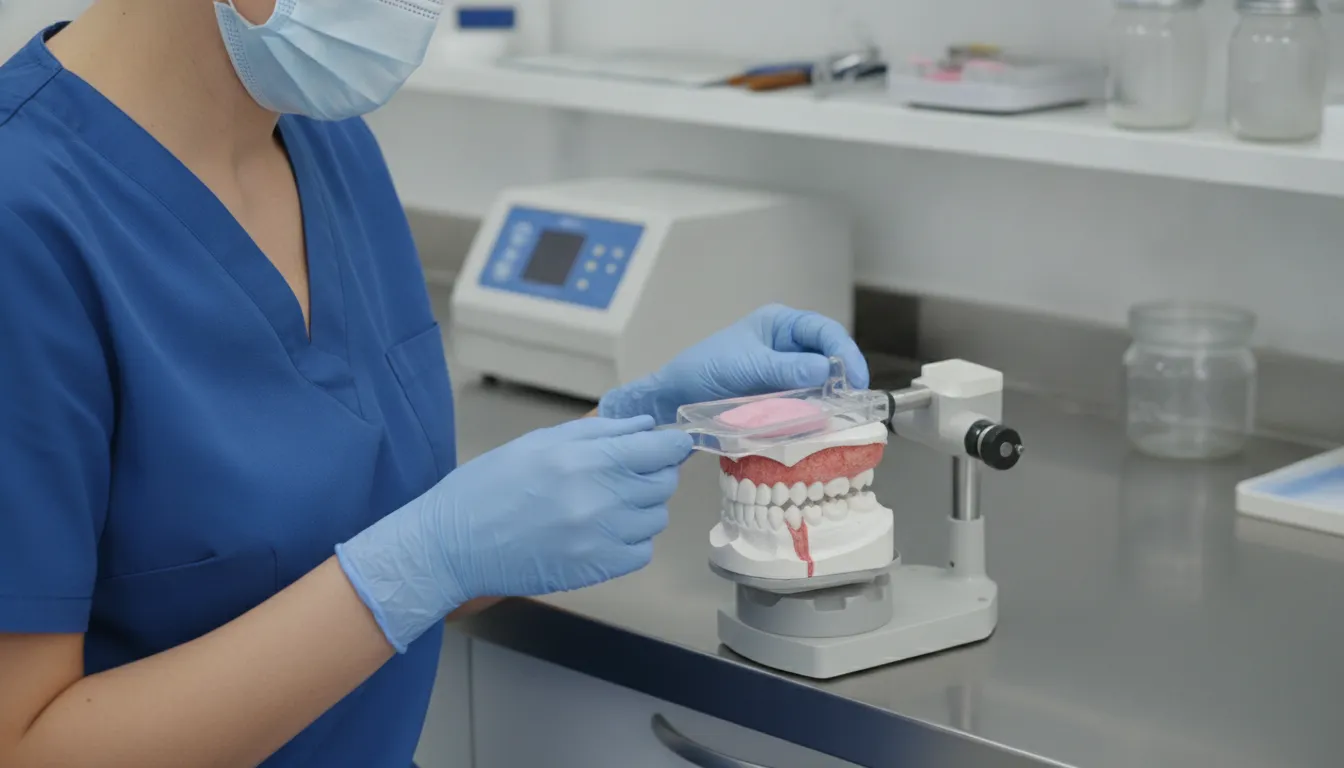
No single method is appropriate for every patient. Technique selection depends on the extent of mobility, distribution of stable support, tray control, material behavior, and clinician experience. The comparison below provides a practical starting point rather than a substitute for case-specific judgment.
| Technique | Typical indication | Clinical approach | Primary advantage | Key limitation |
|---|---|---|---|---|
| Selective pressure with custom tray | Localized or mild mobility with usable support areas | Relieve the mobile region and direct controlled pressure toward stable tissues | Familiar, efficient workflow | Tray seating or material pressure can still displace tissue |
| Selective perforation | Limited mobile tissue requiring additional pressure relief | Add escape holes over the mobile region so excess material can vent | Reduces hydraulic pressure | Perforations must be positioned carefully |
| Window or dual-tray technique | Broad or highly mobile flabby ridge | Record supporting tissues first, then capture mobile tissue through a window with low-pressure material | Separates control of stable and mobile tissues | More technique-sensitive and time intensive |
| Hybrid analog-digital workflow | Mobile tissue that is not predictable with a direct scan | Make a controlled physical impression, then scan the impression or cast for digital design | Combines tissue control with digital fabrication | Digital quality depends on the analog record |
Selective pressure and perforated trays
A selective-pressure tray is designed to obtain support from appropriate stress-bearing regions while providing relief over tissue that should not be compressed. A spacer can create room over the flabby ridge, and stops can help control tray seating. Selective perforations over the mobile area allow excess impression material to escape, reducing pressure during seating.
This approach can be effective for a limited, clearly mapped area of mobility. Its weakness is that the final result remains sensitive to seating force, material viscosity, tray contact, and movement before the material sets. Inspect the impression for tray show-through, drag, voids, folds, incomplete borders, and evidence that the mobile area was compressed.
Window and dual-tray techniques
For a broad or markedly mobile ridge, a window technique provides greater separation between the supporting and displaceable tissues. A custom tray is fabricated with an opening over the flabby region. The stable tissues and borders are recorded first. After that material is set and the tray is stable, a low-viscosity material can be applied through the window to record the mobile tissue with minimal pressure.
A dual-tray variation uses separate components to manage the two records. Both approaches require precise tray design and careful handling so the second-stage record joins the first without distortion or an inaccurate seam. A clinical report in PubMed Central describes specialized impression management for flabby ridges and illustrates why tissue control is central to the technique.
Material selection and impression acceptance
Material choice should support the intended pressure strategy. Medium-body polyvinyl siloxane may be used where controlled support is needed, while a more flowable material can record mobile tissue through a window. The clinician must follow manufacturer instructions for mixing, working time, setting, and compatibility rather than assuming that a low-viscosity material alone guarantees a mucostatic record.
Accept the final impression only when the mobile region appears undistorted, borders are complete, and the record is free of clinically significant defects. If the tray contacted the flabby tissue, the window record moved, or the impression lacks the intended support, repeat it. Digitization preserves the record it receives, including its errors.
How does the window technique record mobile tissue?
The window technique isolates a mobile region so it can be recorded after the more stable tissues. This helps prevent the tray and the initial impression material from compressing the flabby ridge. A typical sequence is as follows:
- Make the preliminary record. Capture the full denture-bearing area and transfer the mapped outline of mobile tissue to the cast.
- Design the custom tray. Provide appropriate relief and create a window over the flabby region without sacrificing control of the remaining tray.
- Verify the tray intraorally. Confirm that its borders and window edges do not impinge on or distort the mobile tissue.
- Complete border molding. Record functional borders while maintaining stable, repeatable tray positioning.
- Record the supporting tissues. Seat the tray in a controlled manner and allow the first-stage material to set.
- Record through the window. With the tray stabilized, apply a low-pressure material over the exposed mobile tissue and allow it to set without manipulation.
- Inspect the combined impression. Evaluate borders, the junction between records, tissue detail, defects, and any sign of displacement.
The sequence is conceptually simple but technique-sensitive. Window size and position must correspond to the mapped tissue. If the opening is too small, the tray edge can compress the ridge. If it is too large, control may be reduced. Stabilizing the first-stage record while applying the second material is essential.
These principles complement the broader steps in custom denture fabrication. The definitive impression is one record among several, and it must coordinate with border form, jaw relation, occlusion, prosthetic design, and verification.
When should dentists use a hybrid analog-digital workflow?
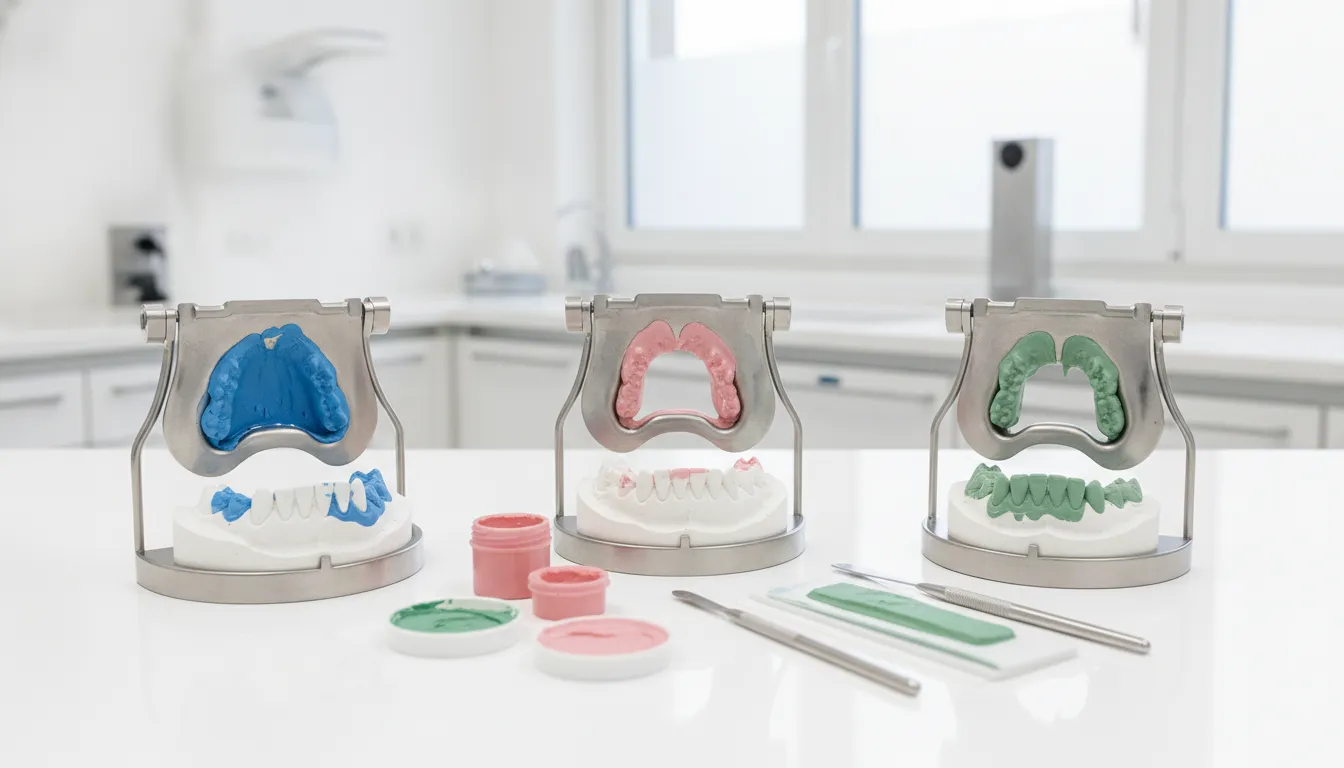
A direct intraoral scan can be valuable in an edentulous workflow, but mobile tissue presents a specific challenge. Scanning depends on line of sight, surface tracking, and a controlled relationship between the scanner and tissue. Retraction, scanner contact, or patient movement can alter a soft ridge during capture. A direct scan may also be less suitable when complete functional borders cannot be recorded predictably.
A hybrid workflow is appropriate when the clinician can obtain a more reliable tissue record with an analog flabby ridge impression technique but still wants the advantages of digital design and manufacturing. The controlled physical impression or resulting cast is digitized with an appropriate scanner. The resulting file becomes the basis for the subsequent digital denture workflow.
Hybrid analog-digital sequence
- Assess and map the mobile and supportive tissues.
- Select and complete the indicated controlled analog impression technique.
- Verify the impression before it leaves the operatory.
- Digitize the accepted impression or cast according to the laboratory workflow.
- Review the digital record for missing data, artifacts, and accurate borders.
- Continue with digital design, clinical records, fabrication, and delivery verification.
This sequence does not make the analog and digital pathways competitors. Each is used where it offers the strongest control. For more context on scan indications and limitations, review AvaDent's guide to digital impressions for dentures. Practices using a streamlined clinical protocol can also review the Wagner EZ Protocol.
A clinical decision framework for selecting the right approach
Use tissue mobility as the first decision point, then account for anatomy, support, patient factors, and the reliability of available records. The following framework helps structure that decision:
- Limited, mildly mobile tissue: Consider a relieved custom tray with selective pressure or perforations when adequate stable support is available.
- Broad or easily displaced tissue: Consider a window or dual-tray technique that records the mobile region separately.
- Predictable direct scan with stable tissues: A digital pathway may be reasonable if borders and all required anatomy can be captured and verified.
- Unpredictable direct scan of mobile tissue: Use a controlled analog record, verify it, and digitize the accepted impression or cast.
- Active disease, uncertain diagnosis, severe anatomy, or inability to obtain a stable record: Pause the restorative workflow and consider referral or additional treatment.
The final choice must reflect what the clinician can execute and verify consistently. A sophisticated technique is not automatically superior if it introduces uncontrolled seams, incomplete borders, or repeatability problems. Conversely, a familiar conventional impression should not be accepted when it visibly displaces the ridge.
Limitations, alternatives, and referral considerations
Conservative impression techniques can manage many flabby ridge cases, but they do not eliminate all biological and mechanical limitations. Residual ridge anatomy, neuromuscular control, saliva, occlusal demands, tissue condition, and patient adaptation still influence the outcome. A precise record cannot guarantee retention or comfort if other parts of diagnosis and treatment are inadequate.
Verification should continue after the definitive impression. Review the digitized record against the accepted physical record before design, and confirm that borders, relief, and the mobile region have not been cropped, smoothed, or altered unintentionally. At delivery, evaluate extension, stability, retention, pressure areas, and occlusion together. If the prosthesis rocks or repeatedly irritates the same mobile region, reassess the original tissue record rather than relying only on chairside adjustment. This feedback loop helps distinguish an impression-related error from a border, design, or occlusal issue.
Surgical removal of mobile tissue may be considered in selected cases, but it can reduce ridge volume and is not appropriate for every patient. Implant-supported options may improve stability for some patients, but candidacy depends on anatomy, systemic health, risk, preferences, and access to care. These alternatives require a complete evaluation and informed discussion rather than a universal recommendation.
Consider referral to a prosthodontist, oral surgeon, or other appropriate specialist when the diagnosis is uncertain, tissue is persistently inflamed or ulcerated. Pathology is suspected, anatomy is severely compromised, prior treatment has repeatedly failed, surgery or implants are being considered, or a predictable impression cannot be obtained. Document the clinical findings, selected technique, acceptance criteria, and reason for referral.
Frequently Asked Questions
What is a flabby ridge impression technique?
A flabby ridge impression technique is a method designed to record mobile denture-bearing tissue with minimal displacement while capturing stable support areas accurately. Common approaches include relieved selective-pressure trays, selective perforations, window techniques, and dual-tray techniques.
What is the window impression technique for a flabby ridge?
The window technique uses a custom tray with an opening over the mobile tissue. The clinician records the stable tissues first, then applies a low-pressure material through the window to capture the flabby ridge near its resting position.
Can a flabby ridge be captured with an intraoral scanner?
It may be possible in selected cases, but direct scanning can be unpredictable when tissue is highly mobile or when scanner contact and retraction alter its position. A hybrid workflow can digitize a verified physical impression or cast when direct scanning is not reliable.
When should a window technique be considered?
A window technique may be considered when a broad or easily displaced flabby region needs to be recorded separately from firmer supporting tissues. Selection depends on anatomy, mobility, tray control, material handling, and clinician judgment.
When should a clinician refer a flabby ridge case?
Referral should be considered when the diagnosis is uncertain, pathology or persistent inflammation is present, anatomy is severely compromised. Previous treatment repeatedly fails, surgery or implants are under consideration, or a predictable impression cannot be obtained.