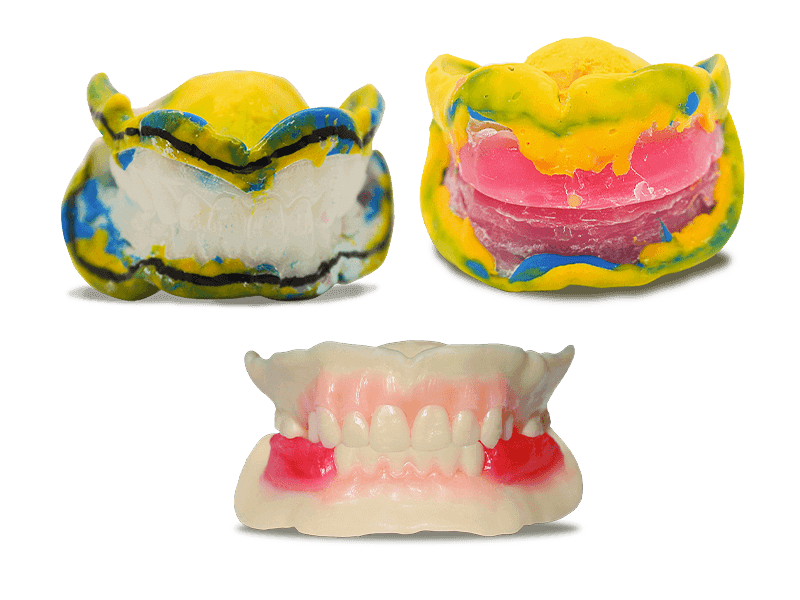
Receive your approved STL-file and print or mill a denture
6 Keys to a Successful AvaDent Digital Denture
The great thing about creating an AvaDent Digital Denture is that you don’t need to change your normal workflow. Provide us with an accurate final impression and inter-occlusal record and we do the rest. The record must communicate 6 key factors.
MIDLINE
CENTRIC RELATION
OVD (OCCLUSAL VERTICAL DIMENSION)
ANTERIOR TOOTH SIZE
LIP SUPPORT
INCISAL EDGE LOCATION
Workflow
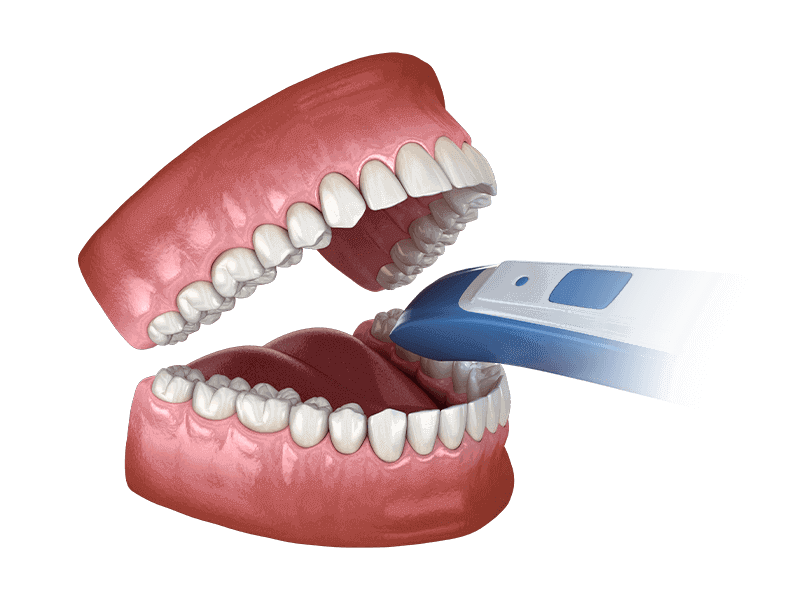
1. Choose a Record Technique
Capture the six (6) key measurements into the record. Keep doing what you used to do or use one of the efficient AvaDent record protocols to create your digital denture. All indications are possible.
2. Scan Yourself
Use your own scanner and send AvaDent an open STL file of the records.
3. Review & Approve Design
We can customize your set-up requirements based on your customers' needs. Review and approve the design in AvaDent Dashboard. After approval, we begin manufacturing.
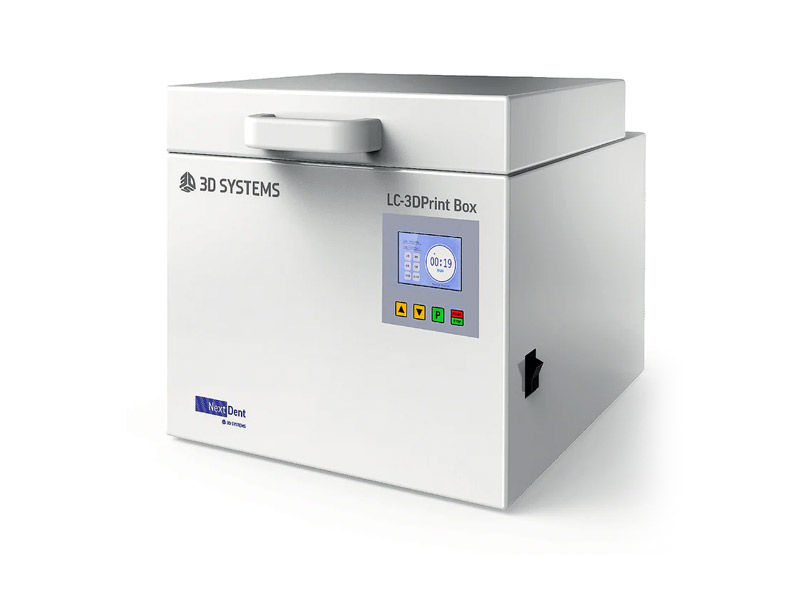
4. Produce Yourself
Now you are ready to print or mill your case using your in-house lab.
5. Finish Yourself
Make it in your own lab by finishing the digital denture yourself.
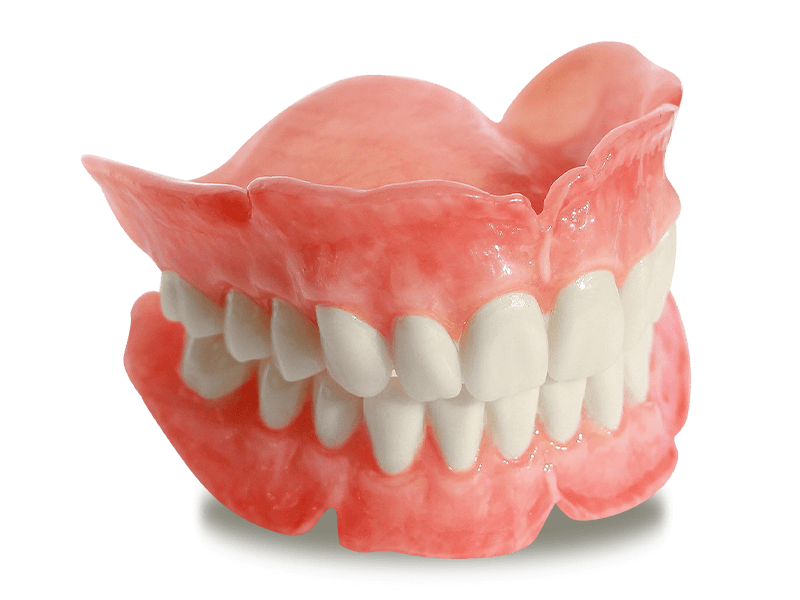
6. AvaDent Digital Denture
Your digital record ensures easy replacement and simplifies future follow-up orders.
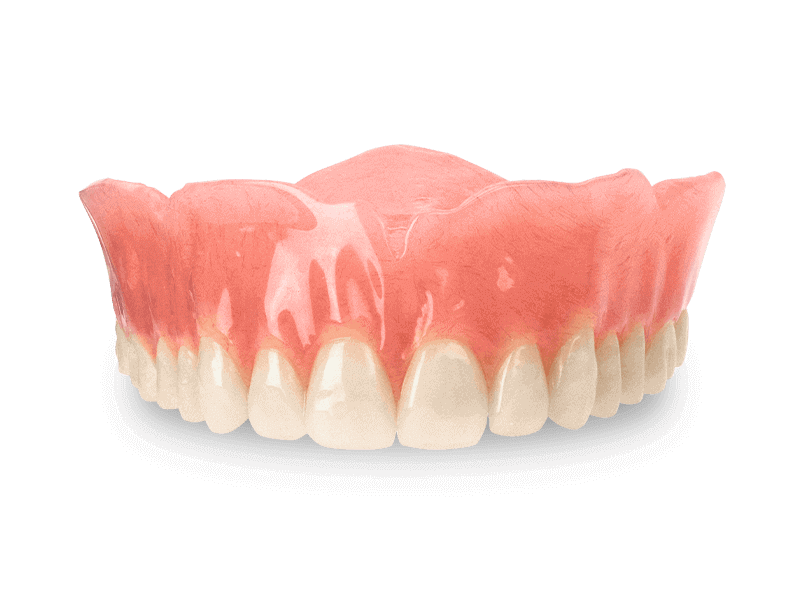
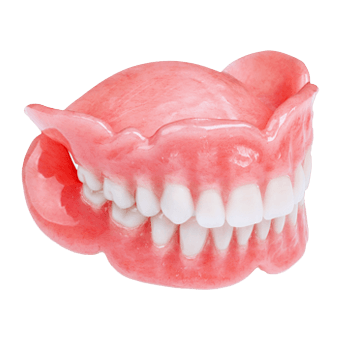
Do-It-Yourself Products
Dentures
All non-monolithic denture indications are possible while capturing the six key measurements into the record.
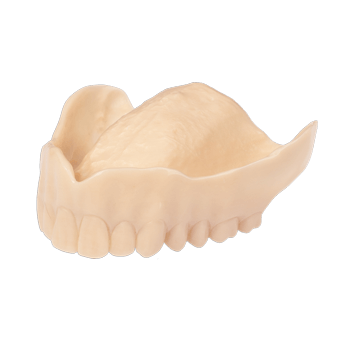
Try-Ins
Use your own scanner and send AvaDent an open STL file of the records. We design the case, you approve it or make changes in AvaDent Dashboard, then download the STL file and print or mill the try-in.