



Your first digital denture case can succeed or stall before the order is submitted. Records, design approvals, and patient conversations all need to line up across the team.
Schedule AvaDent digital denture training for your team.
Digital denture training gives dentists, assistants, and lab coordinators a repeatable path from record capture to first-case submission. Review the digital denture workflow guide to connect those first-case steps. AvaDent helps teams learn what to collect, how to review designs, and how to place first orders with personalized onboarding, clinical protocols, and education resources.
The key question is not whether one clinician can learn a new process. The real question is whether the whole practice can run that process consistently.
Digital denture training starts with clear team roles. Every handoff needs an owner. Every first case needs a plan. Here is how to build that process.
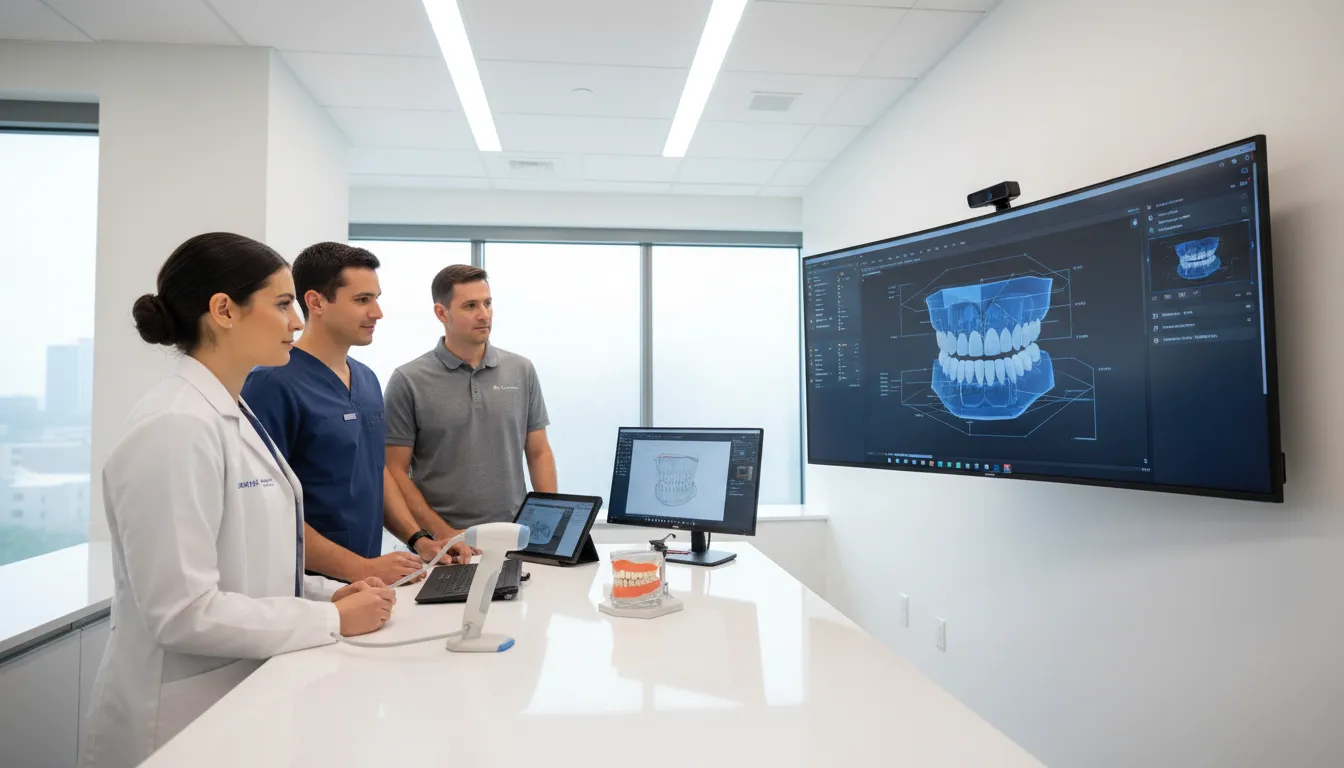
Digital denture training starts with clear team roles
AvaDent digital denture training works best when each person owns a clear part of the case. A shared workflow keeps the patient message, clinical records, design decisions, and delivery plan aligned.
It also makes coaching practical. The team can review each handoff and find where a case slowed down.
Patient education and case readiness
The front desk starts the pathway before the clinical visit. Staff can describe why records may be collected in a new way. They can confirm appointment needs and note questions for the dentist.
Their job is to set clear expectations. They should not make clinical promises.
The dentist leads diagnosis, treatment planning, and consent. On a team checklist, the dentist defines the records needed for the planned prosthesis.
This direction helps the assistant prepare for capture. It also helps the coordinator recognize a complete file.
Accurate records and clean handoffs
The assistant owns record capture under the dentist's direction. Training should spell out needed photographs, scans or impressions, bite records, and case notes.
If a record is unclear, the team should correct it before design begins.
This step matters because digital treatment is not only a file transfer. A systematic review of digital complete dentures found that CAD-CAM dentures reduced required appointments compared with conventional dentures.
Reliable records help the office make that workflow easier to repeat.
The lab coordinator serves as the case checkpoint. This person verifies file names, prescription details, patient identifiers, and the contact for questions.
A checklist keeps design requests from reaching the dentist without the records needed for review.
Design review, submission, and delivery
Once a design is ready, the dentist reviews clinical choices and gives approval or revision notes. The coordinator records that decision, submits the approved order, and tracks updates from the laboratory.
Practices can use a digital denture fabrication checklist so staff understand what follows submission.
Set a clear response path for changes. The coordinator routes design questions to the dentist. Then the coordinator returns one approved answer to the laboratory.
That sequence helps prevent mixed instructions from several team members.
Before delivery, the front desk schedules the visit and confirms instructions from the clinical team. The assistant stages records and materials for the appointment.
The dentist delivers the prosthesis, checks the clinical result, and documents any follow-up need.
A brief case review turns one completed order into team learning. Note which handoff was clear. Also note what needed correction.
Assign any checklist change before the next case begins. This makes training a daily workflow habit, rather than a one-person skill.
What should your team learn before the first digital denture case?
AvaDent digital denture training should begin before a patient is in the chair. The dentist, assistant, and case coordinator need one shared process for clinical records, images, patient communication, and case submission.
Case selection and core clinical records
Begin with a case your team can evaluate carefully. Review the existing prosthesis, tissue condition, ridge form, occlusion, esthetic concerns, and the patient's reason for seeking a new denture.
A first case should allow the team to focus on sound records. It should not add avoidable complexity.
Every team member should understand the vertical dimension of occlusion (VDO) and the vertical dimension at rest (VDR). They should also know which measurements, landmarks, and observations the dentist must approve before a case is sent.
Clear notes help the lab understand the clinical goal. Include lip support, midline, smile line, occlusal plane, and tooth display.
- Mark needed anatomy and prosthetic landmarks on the record checklist.
- Confirm VDO, VDR, jaw relation records, and bite information before submission.
- State which features of the existing denture the patient wants to keep or change.
This foundation matters because digital records support a new workflow. They are not a shortcut around diagnosis.
A systematic review found that digital complete dentures can reduce the number of appointments and improve patient comfort compared with conventional dentures. The team can review the published evidence on digital complete dentures while setting realistic case goals.
Reliable capture and useful images
Your team should rehearse its record capture method before the first case. If you use an intraoral scanner, practice the scan path, soft tissue control, border capture, and review of missed areas.
If another approved record method is used, define who checks completeness before the patient leaves.
Photography is part of the clinical record. Set a simple photo series for facial views, smile, retracted intraoral views, and the current denture when it helps communication.
Use consistent lighting, framing, and file names. Then place the images with the correct patient case.
Training should connect chairside capture with the next steps in design and fabrication. AvaDent's AvaDent fabrication workflow overview can help staff see why complete records matter before a design is reviewed.
Patient expectations and clean handoffs
Before treatment begins, assign who will explain the process to the patient. The conversation should cover the records to be taken and any design decisions that may need approval.
It should also state what the team will check at delivery. Avoid promising a perfect result or a fixed number of adjustments for every case.
Use one case-note template for the entire practice. Record the treatment plan, capture method, VDO and VDR notes, and bite record details.
Add shade and tooth requests, the image checklist, special instructions, and staff sign-off. Clean notes reduce follow-up questions. They also make the first digital case easier for the team to review.
How to build a repeatable digital denture workflow
A repeatable AvaDent workflow gives each team member a clear role, from the first record to final seating. It also makes digital denture training easier to apply across cases.
The team should not have to rely on one clinician's memory.
A systematic review of digital complete dentures found benefits in fewer appointments and patient comfort compared with conventional dentures. The process still depends on sound records, careful review, and clear communication.
Case selection and clinical records
Start with cases that let the team learn the sequence without added complexity. Before sending a case, agree on who captures records, who uploads files, and who tracks design questions.
- Choose starter cases. Select patients whose clinical needs fit the workflow your dentist and lab team have reviewed. Use early cases to build the same checklist, file names, and handoff habits each time.
- Prepare the patient record. Gather the medical and dental history, treatment plan, current prosthesis notes, photos, and required clinical records. Record vertical dimension of occlusion and jaw relationship with care. The design can only reflect submitted data.
- Capture and check scans. Follow the trained scan or record-capture protocol for the planned prosthesis. Before submission, review borders, bite records, tissue capture, and file labels. A shared review step helps prevent avoidable questions after the case reaches the lab.
- Submit one complete order. Send scans, photographs, prescriptions, shade or tooth details, and treatment goals through the case process. Keep a copy of the submission in the patient record. For technical context, review the custom denture fabrication steps with staff.
- Review the design before fabrication. The prescribing dentist should check tooth position, occlusion, esthetic goals, and any clinical notes in the design review. Send precise edits in one response when possible. Clear feedback keeps the design discussion tied to the approved plan.
- Seat, adjust, and document. Explain the seating visit before delivery. Then assess fit, occlusion, comfort, and patient instructions. Note any adjustments and feedback in the record. Use those notes at the next team review to refine the checklist.
Patient and team communication
Patients need a simple explanation of what occurs at each visit. Tell them when records are taken, when a digital design is reviewed, and what will be checked at seating.
Avoid promises about fit or adjustment needs before clinical evaluation.
The assistant or coordinator can track missing files, patient questions, and the timing of design approvals. This makes the workflow a team routine, not just a dentist's task.
A brief huddle after each early case can flag steps that need clearer ownership.
Support for a consistent routine
AvaDent training and case support can help teams set their record-capture, submission, design-review, and seating steps. Practices teaching the workflow can also review our educators program resources for related learning support.
Keep the final checklist where the full team can use it. Update it when a case reveals a missed field, an unclear handoff, or a useful seating note.
Consistent records and feedback turn training into a routine clinical process.
Training assistants to capture better digital denture records
Assistants make AvaDent digital denture training usable at the chair. They prepare the patient, organize required records, and stop a case from moving forward with gaps.
That control matters because a systematic review of digital complete dentures found digital workflows can reduce appointment count compared with conventional treatment.
Clear roles also help the clinician focus on clinical decisions. Assistants should know which scans, photographs, and bite records a submission needs before the patient leaves.
For a view of how records flow into production, review AvaDent's digital fabrication process guide.
Patient and scanner readiness
Begin with the patient, not the scanner. Confirm the planned record set with the clinician and explain the visit in simple terms.
Remove loose adhesive or debris from an existing denture before it is photographed or scanned. A clean denture gives the team a clearer record to assess.
Before capture, assistants can prepare the scanner, selected tips, retractors, mirrors, and drying supplies. Confirm that the correct patient and case type are open in the software.
Then check that the scanner tip is ready for use under the practice's infection control process.
- Seat the patient comfortably and remove items that hide landmarks.
- Keep cheeks, lips, and tongue retracted during each scan pass.
- Watch the screen for holes, stitching errors, or blurred surfaces.
- Repeat a weak area while the patient is still in the chair.
Photos, bite records, and VDO notes
A photo protocol should be consistent from case to case. Capture the views requested by the clinician, with the face centered and the lips retracted where needed.
Include existing dentures when their tooth position, midline, smile display, or occlusion can guide the new design.
Bite records need the same discipline. Label scans and records so the design team can tell what is in occlusion and what is at rest.
Record the clinician's vertical dimension of occlusion (VDO) notes, bite method, and changes requested for tooth display or lip support.
- Check that the upper, lower, and bite data sets belong to the same patient.
- Confirm that the bite closes without visible scan distortion.
- Record whether the existing denture was used to support the VDO decision.
- Flag unclear midline, occlusal plane, or esthetic instructions for review.
Submission check before the patient leaves
Build a final pause into every appointment. The assistant can compare the completed file against the practice checklist while the clinician approves clinical details.
Missing records are easier to correct while the patient remains present. They are harder to fix after a lab review begins.
Before submission, confirm patient identifiers, scan completeness, photos, bite information, VDO documentation, and clean denture images.
If any item is unclear, do not guess or send an incomplete case. Flag it for the clinician, document what is missing, and capture the corrected record before release.
Digital denture training options compared
AvaDent digital denture training should prepare a team to gather reliable records, review a proposed design, and communicate clearly with its lab.
Training matters because digital complete dentures can reduce appointment needs and working time compared with conventional fabrication. This workflow finding is reported in a review of CAD-CAM complete dentures.
Four training paths
Self-guided videos and protocol guides can introduce the workflow at a team's own pace. They work well for orientation, role review, and refreshers before a case.
Yet reading or watching alone may not show whether clinical records are ready for a design review.
Lab-supported onboarding adds feedback to the first steps of adoption. The team can map record capture, design review, and order placement before taking on more cases.
For background, teams can review AvaDent's guide to mastering digital denture workflows.
| Training option. | Best use. | Support level. | Practice need. |
|---|---|---|---|
| Videos and protocol guides. | Basic orientation. | Self-guided. | Protected study time. |
| Lab-supported onboarding. | Starting a workflow. | Guided setup. | Case records and team roles. |
| Live case consultation. | Questions on a case. | Focused clinical feedback. | Case details for review. |
| Hands-on course. | Deeper skill building. | Instructor-led practice. | Course time and travel planning. |
Support matched to the case
Live case consultation is useful when a dentist or assistant has a defined question. The issue may involve records, the planned denture, or steps needed before submission.
This option keeps learning tied to the case. It does not ask the team to sort through broad material alone.
Advanced hands-on courses fit clinicians who want deeper practice with full-arch workflows and complex treatment planning. Explore upcoming digital dentistry courses for additional hands-on education. They may be the right step after a practice has learned the basic process.
For a new team, a full course may offer more depth than is needed for the first case.
A practical starting point
A lab-service workflow gives practices a way to begin without building an in-house manufacturing setup. AvaDent's onboarding resources and case support help teams learn records, review steps, and case submission.
The AvaDent training and support pathway is a practical next step when guidance is needed during adoption.
The best first choice depends on the team's goal. Use self-guided material to build shared vocabulary. Use onboarding to set a repeatable process.
Use case consultation for focused questions. Then add hands-on education when the team is ready for deeper case work.
How should dentists review designs and communicate changes?
With AvaDent, design review is a clinical checkpoint, not a quick approval click. The dentist confirms that the proposed denture supports function, appearance, and the agreed treatment plan.
The lab coordinator keeps records, comments, and approvals organized. This shared habit is a core part of digital denture training.
A careful review also protects the value of the digital process. A systematic review found that CAD-CAM complete dentures showed better retention than conventional dentures.
That evidence supports careful clinical oversight before a design moves into production, as described in the review of digital complete denture outcomes.
Clinical checks before approval
The dentist should begin with occlusion and tooth setup. Review contacts, balanced function where planned, arch form, tooth position, and any limits created by the clinical records.
Confirm that the proposed setup matches the patient's recorded jaw relation and treatment goals. A screen image cannot correct weak or unclear records.
Next, assess the esthetic reference points that matter in the smile. Check the dental midline, smile line, incisal display, tooth size, shade, and lip support.
Compare them with approved photos or records when available. The dentist should also confirm the selected material and restoration type before approval.
A clear team review process
The lab coordinator can make review faster without making clinical decisions. This team member can open the design, organize images and case notes, log questions, and route the file to the dentist.
They can also confirm that the final approval is recorded before fabrication. The dentist remains responsible for clinical acceptance.
Use one repeatable review order for each case: function, esthetics, material, then approval. A consistent order lowers the chance that a visible issue is checked while an occlusal concern is missed.
Practices that need more workflow context can review the step-by-step digital fabrication guide with their clinical and coordinating staff.
Change requests the lab can act on
When a change is needed, describe the exact feature, direction, and reason. Write: "Move maxillary midline 1 mm to the patient's right."
That note is easier to apply than "fix the smile."
Limit each comment to one action when possible, and mark the view or tooth involved. If several changes relate to one goal, say so at the start.
AvaDent's design review support and training resources help teams build this shared language. The result is a focused exchange between dentist, coordinator, and lab support before approval.
Patient communication makes digital denture adoption easier
A shared explanation at the first call
Digital denture training should give every team member the same clear way to explain care. The goal is not to sell a new process.
It is to help patients understand how records, design review, and fitting visits fit together.
When a patient asks what is different, start with the patient experience. A published review found that digital complete denture workflows may reduce appointments and improve comfort compared with conventional methods.
Share that evidence with care: digital denture outcomes depend on the clinical case and workflow.
Use short scripts for each role.
- Front desk. Your dentist will assess your needs and explain whether a digital denture process is right for you.
- Front desk. We will outline your expected visits after the clinical exam and records review.
- Assistant. We will collect records that help the dentist and lab plan your denture design.
Talking points during record capture
Assistants can reduce worry before records are taken. Explain what will be recorded, what the patient may feel, and when questions can be raised.
If scanning is part of the selected workflow, describe it as a way to collect clinical information. Do not describe it as a promise of a perfect fit.
The dentist should connect each record to a clinical decision. Patients may hear about bite position, appearance, speech, or fit. They do not need a technical lecture.
Teams that need workflow context can point patients or new staff to AvaDent's mastering digital denture workflows guide.
During capture, keep the message calm and clinical.
- Assistant. These records help your dentist review fit, function, and appearance before your denture is made.
- Dentist. Digital records support planning, but your mouth and goals still guide treatment decisions.
- Dentist. If the records show that we need another step, we will explain why before moving ahead.
Realistic expectations for delivery and follow-up
Patients usually want to know two things: when they will receive their denture and how it will feel. Give a case-specific estimate only after records are accepted for design.
Explain that timing can change when new records or clinical changes are needed.
Comfort also needs plain language. A digital process can support an efficient care path, but the dentist still evaluates fit, bite, speech, and tissue response.
Patients should know that follow-up care or adjustments may still be appropriate after delivery.
Close the conversation with next steps, not guarantees. "We will review your records, confirm the plan, and tell you what happens at each visit" keeps the message accurate.
It also gives the front desk, assistant, and dentist one consistent standard for patient communication.
Request information about AvaDent full-arch and digital denture training resources.
Frequently Asked Questions
What training do you need to make digital dentures?
Digital denture training should teach the team to collect complete clinical records and capture or transfer accurate impressions or scans.
Training should also cover jaw relationship records, design review, case submission, and patient communication.
Dentists direct diagnosis and final approval, while assistants and coordinators standardize records. AvaDent offers a three-step personalized onboarding and training process for new practices.
What is the average cost of digital dentures?
There is no single average cost that applies to every digital denture patient. Fees depend on the clinical situation, prosthesis type, records needed, adjustments, and the practice's treatment plan.
A dental team should explain the full proposed fee before treatment. They should also identify what is included.
For practices considering the workflow, training and case support are separate questions from the patient's final treatment fee.
How do you take VDO and VDR in a digital denture workflow?
Vertical dimension of occlusion (VDO) records the planned relationship when the teeth meet. Vertical dimension at rest (VDR) is recorded with the jaw relaxed and helps guide clinical evaluation.
In a digital denture workflow, the clinician should verify these records before approving a design or placing an order.
Accurate VDO registration is critical to digital denture success, according to AvaDent.
How long does it take to become a digital denture technician?
Training time varies by role and prior experience. A clinical team does not need to become an in-house manufacturing laboratory to begin an AvaDent workflow.
Dentists, assistants, and coordinators can focus on records, design review, patient communication, and case submission.
AvaDent provides an educational resource library with more than 100 training videos and more than 7 clinical protocol guides, according to AvaDent.
Ready to Prepare Your Team for Digital Dentures?
Delaying team training can leave staff unsure about records, design reviews, patient conversations, and first-order responsibilities.
Starting now gives your practice time to align roles, rehearse the workflow, and resolve questions before the first case moves forward.
With a shared process, your team can approach digital denture orders with clearer handoffs and more consistent communication.
Ready to build a practical path for your first cases? Request information about AvaDent's full-arch training resources to explore AvaDent's digital denture education and full-arch training resources.
Bring your dentist, assistant, and lab coordinator into the same learning plan. Then use the training to define next steps for records, review, and ordering.