



Border molding dentures is a functional record-making process, not simply an impression-material step. Accurate peripheral extension helps a complete denture maintain its seal during speech, swallowing, and mandibular movement, while overextension can destabilize the prosthesis and traumatize tissue.
Contact AvaDent to review a complete denture record-capture workflow for your practice.
Conventional border molding remains a dependable choice when the clinician needs controlled functional displacement of mobile tissues. Digital capture can improve record transfer and reproducibility in suitable anatomy, but it does not eliminate the need to evaluate the vestibule, frena, and posterior borders. For many cases, a hybrid approach offers the most practical balance.
Why border molding dentures support retention
The border of a complete denture must occupy the available vestibular space without interfering with normal muscle activity. When extension, contour, and polished-surface form work together, the prosthesis is better positioned to resist dislodging forces. Border molding records the relationship between the custom tray and the tissues while those tissues are moved functionally.
For a maxillary denture, the record must account for labial and buccal vestibules, frena, the distobuccal region, and posterior palatal anatomy. For a mandibular denture, the clinician must evaluate the labial and buccal vestibules, masseteric notch, retromolar pad region, lingual sulcus, mylohyoid area, and retromylohyoid space. Each region behaves differently during function.
Extension is not the same as overextension
Maximum extension is not the goal. The objective is appropriate extension within the physiologic limits of the tissues. A flange that invades a frenum or restricts muscle movement may lift the denture during function. A short flange may sacrifice the available seal and support.
Clinical evaluation therefore matters as much as the capture method. After molding, inspect continuity, thickness, tissue contact, and the response to functional movements. Do not assume a smooth-looking scan or impression is clinically complete.
Peripheral form affects more than retention
The border record also influences stability, comfort, food control, and phonetics. Errors may present as movement during speech, soreness at flange margins, cheek or tongue biting, or repeated adjustment visits. A precise record helps the laboratory design within the limits established at the chair.
AvaDent's clinical records guidance explains how complete records support the downstream design process.
How conventional border molding works
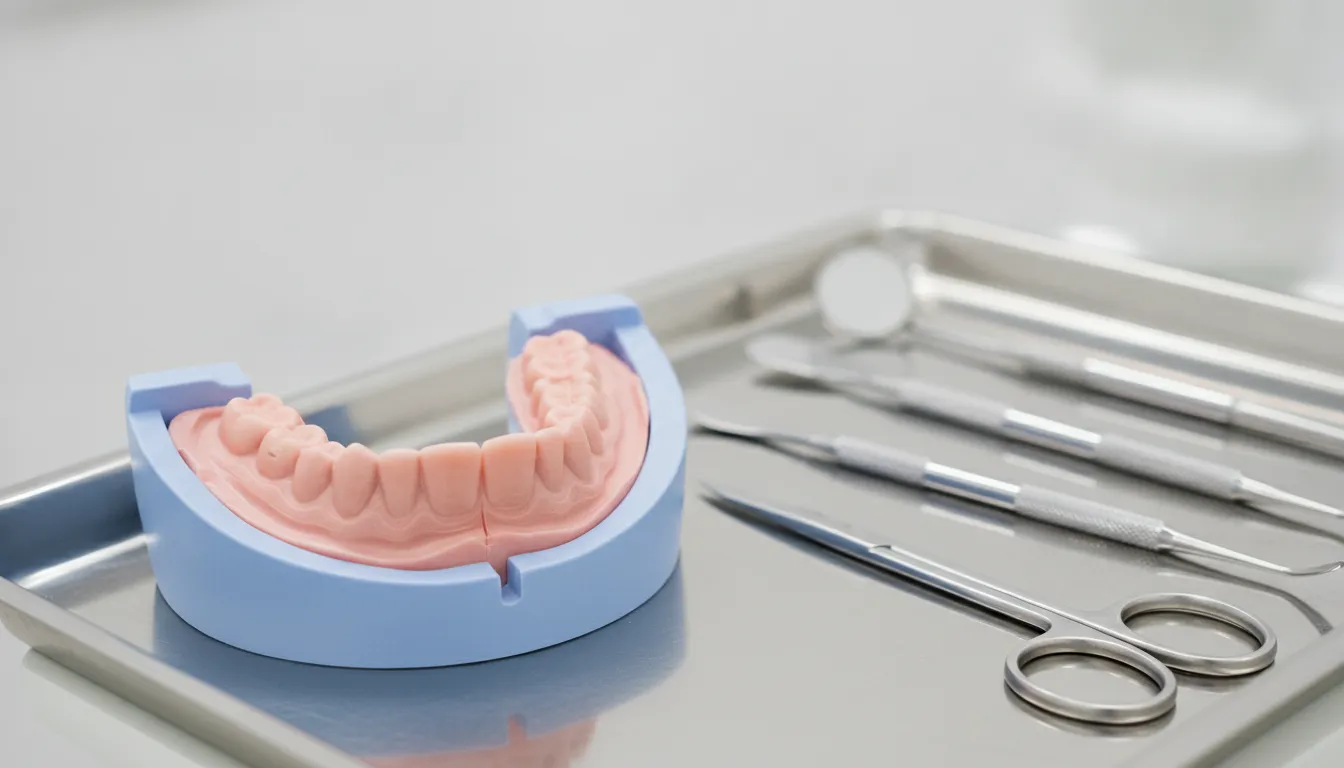
Conventional border molding uses a custom tray whose borders are adjusted short of the vestibular reflection, then incrementally developed with a moldable material. The clinician seats the tray and guides movements selected for the region being recorded. The material is evaluated, corrected, and refined before the definitive wash impression.
Sectional versus single-step techniques
A sectional technique develops one region at a time. It gives the clinician local control and makes corrections straightforward, but it requires repeated tray insertions and careful management of junctions between segments. Modeling plastic impression compound has a short working interval, which can make the technique demanding.
A single-step technique develops the borders simultaneously with an elastomeric material. A published technique report notes two practical advantages: fewer tray insertions and simultaneous border development that can reduce propagation of sectional errors. The same report also emphasizes that material selection and technique control remain important. See the PubMed abstract on a modified single-step technique.
A disciplined conventional sequence
- Evaluate the edentulous foundation: Identify mobile tissue, scars, frena, vestibular depth, undercuts, and areas requiring relief.
- Verify custom tray extension: Confirm space for border material and ensure the tray remains stable before molding begins.
- Develop borders region by region: Use controlled movements appropriate to the anatomy rather than exaggerated manipulation.
- Inspect and correct: Remove overextension, add material where extension is deficient, and repeat the relevant movement.
- Make the definitive impression: Confirm tray seating and avoid pressure that displaces the developed border.
- Recheck clinically: Evaluate the completed record for stability, continuity, voids, pulls, show-through, and tissue displacement.
Review how accurate clinical records support the complete denture fabrication sequence.
Conventional versus digital border capture
Digital record capture can simplify transfer, eliminate physical impression distortion during shipping, and retain a reusable data set. Its clinical limitations are most apparent where the anatomy is mobile, reflective, wet, deep, or difficult for the scanner tip to access. A scan records visible surface geometry; a functional border record also communicates how tissues behave during movement.
| Clinical consideration. | Conventional capture. | Digital capture. | Hybrid capture. |
|---|---|---|---|
| Mobile peripheral tissue. | Can be shaped functionally with material and guided movement. | May be difficult to stabilize and stitch consistently. | Conventional functional record can be digitized. |
| Deep vestibules and restricted access. | Custom tray and material can reach the intended extension. | Scanner-tip access and line of sight may limit capture. | Uses conventional access with digital transfer. |
| Record review. | Requires physical inspection of the impression. | Enables immediate magnified visualization. | Allows physical and digital quality checks. |
| Transfer and storage. | Physical impression or cast must be protected. | Digital file can be transferred and retained. | Digitized record supports file-based production. |
| Technique sensitivity. | Material handling, tray control, and movement sequence. | Scan strategy, tissue control, moisture, and stitching. | Requires coordination of both methods. |
A fully digital technique should be used only when the clinician can capture and verify all anatomy required by the selected production workflow. The AvaDent guide to digital impressions for dentures reviews practical considerations for digital record capture.
When should clinicians use analog, digital, or hybrid capture?
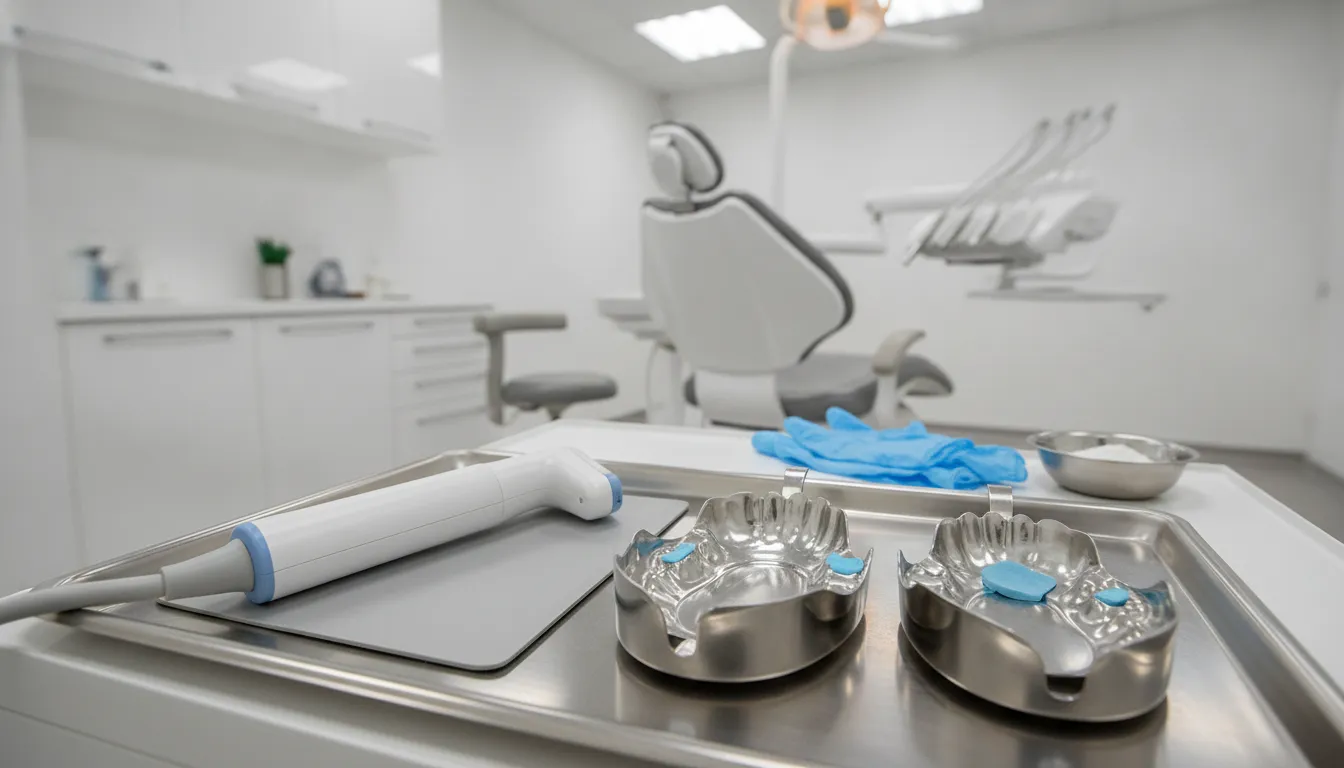
The best method is the one that produces a complete, verifiable record for the individual patient and the intended laboratory workflow. Select the approach after examining anatomy and confirming the capabilities of the scanner, materials, tray system, and production partner.
Choose conventional capture when tissue control is the priority
Conventional border molding is often prudent when peripheral tissues are highly mobile, saliva control is difficult, or scanner access is restricted. It is also useful for a deep vestibule or residual ridge anatomy that requires selective pressure and relief. Choose it when the clinician is more predictable with a validated physical-impression protocol.
Choose digital capture when anatomy and validation support it
Digital capture may be efficient when tissue mobility is limited, the scanner can reach the required anatomy, and the operator can maintain a stable scan strategy. The clinician should examine the completed scan for missing vestibular surfaces, stitching artifacts, duplicated anatomy, and unsupported extensions before submission.
Choose a hybrid workflow when functional capture and digital transfer both matter
A hybrid method can preserve a conventionally developed border while moving the accepted record into a digital design and manufacturing process. Depending on the validated workflow, that may involve scanning an impression, cast, existing prosthesis, or other approved record. Confirm the exact protocol with the laboratory before the appointment.
The AvaDent workflow overview shows how clinical records connect with digital design and production.
How do border records fit a digital denture workflow?
A digital production workflow does not correct an incomplete clinical record automatically. Design software can work only with the anatomy and clinical decisions communicated in the submitted files. If a border is short, overextended, folded, or missing, the uncertainty moves downstream and may require clarification, remakes, or additional chair time.
Before the patient leaves, confirm that the record supports the prescribed prosthesis and that all companion records are complete. These may include jaw relation, occlusal information, tooth display, midline, smile line, photographs, and the opposing arch. The requirements vary by case and protocol.
Communicate intentional clinical decisions
Use the prescription and supporting records to identify relief areas, tissue concerns, desired extension changes, and any compromises accepted at the chair. Clear communication helps the design team distinguish an intentional clinical decision from an incomplete record.
Preserve a reproducible data set
One advantage of a digital workflow is the ability to retain approved records for future reference. That does not reduce the importance of the first record. It makes the quality of that record more valuable because it becomes part of the reproducible data set. Learn more in AvaDent's digital dentures guide.
Agree on the capture protocol before treatment
Protocol alignment should happen before records are made, especially when a practice is introducing a new scanner or combining physical and digital records. Confirm which file formats are accepted, which surfaces must be captured, how the accepted border will be transferred, and whether the laboratory needs a physical impression or cast in addition to scan data.
This discussion also clarifies responsibility for quality control. The clinician verifies tissue response, extension, and record accuracy at the chair. The production partner confirms that submitted files are complete and usable before design begins. When either party identifies uncertainty, resolving it early is more efficient than designing around an assumption.
Document the selected approach in the clinical record, including any intentional relief, shortened flange, or anatomy that limited capture. These details help the design team interpret the record accurately and provide a reference if the prosthesis requires adjustment.
How should a clinician correct common border-record defects?
Correction begins by identifying whether the defect reflects tray design, material handling, tissue control, or scan strategy. A generalized remake is not always necessary. A localized correction is often appropriate when the tray remains stable and the rest of the border is clinically acceptable.
Correct overextension before repeating the movement
Overextension may appear as a bulky or displaced flange, material show-through, or tray movement during a specific functional maneuver. Mark the interference, reduce the tray or developed border locally, add fresh border material if required, and repeat only the movement that tests that region. Repeatedly molding an overextended border without reduction can reproduce the same error.
Distinguish deficient extension from poor tissue control
A short or incomplete border can reflect inadequate material, insufficient access, saliva contamination, or movement that failed to activate the intended anatomy. Add material only after confirming that the tray seats fully and the tissues can be controlled. During digital capture, isolate and dry the field according to the scanner protocol, maintain visual access, and rescan the missing region without duplicating adjacent anatomy.
Use region-specific clinical checks
For the maxillary record, inspect frenum relief, the distobuccal extension, and the posterior transition. For the mandibular record, scrutinize the masseteric notch, lingual flange, mylohyoid region, and retromylohyoid space. Seat the accepted record and repeat speech, swallowing, and the relevant border movements. Rocking or displacement during a repeatable maneuver identifies a region that warrants correction before the definitive record is sent.
Document each intentional modification on the prescription. This gives the design team a clinical rationale for a shortened flange, relief area, or altered contour instead of leaving them to interpret an apparent defect.
A quality-control checklist before sending the record
Use this concise checklist after completing border molding and the definitive impression or scan. Adapt it to the patient, capture system, and laboratory protocol.
- Tray stability: The tray seats predictably without rocking or displacement.
- Continuous extension: The peripheral record is complete around the arch.
- Frenum clearance: Labial, buccal, and lingual frena have appropriate space for function.
- Functional contour: Borders reflect controlled movements without obvious overextension.
- Critical anatomy: Required posterior, lingual, vestibular, and supporting areas are present.
- Surface integrity: There are no consequential voids, folds, pulls, bubbles, or stitching artifacts.
- Tissue management: Mobile or displaceable tissues were recorded according to the planned technique.
- Complete submission: The prescription and all required companion records are included.
If any item is uncertain, resolve it chairside rather than expecting the laboratory to infer missing anatomy. AvaDent also provides education resources for dental professionals who want to strengthen their digital denture workflow.
Frequently asked questions
Is border molding required for every complete denture impression?
The need and technique depend on anatomy, tissue behavior, tray design, and the record-capture protocol. The clinician must still evaluate peripheral extension and functional movement even when using a digital or hybrid workflow.
Can an intraoral scanner capture a complete denture border?
An intraoral scanner can capture visible anatomy, but mobile mucosa, deep vestibules, saliva, and limited scanner access can make functional border capture difficult. Verify the scanner and laboratory workflow before relying on a fully digital record.
When is a hybrid border molding workflow useful?
A hybrid workflow is useful when the clinician wants conventional functional capture of peripheral tissues while retaining the efficiency and reproducibility of a digital production workflow.
What should be checked before sending a border record?
Confirm continuous peripheral extension, appropriate vestibular depth, accurate frenum relief, stable tray seating, complete tissue capture, and a record free of voids, pulls, folds, or displaced material.
Build a more predictable complete denture workflow
Analog, digital, and hybrid methods can all produce useful records when they are matched to the anatomy and verified clinically. The decisive step is not choosing the newest method. It is sending a complete peripheral record that gives the design and production team clear clinical boundaries.
After choosing the right capture method, explore AvaDent's full line of digital denture products to find the right solution, or visit AvaDent Digital Dental Solutions for clinical resources and education.
Contact AvaDent or call 480-275-7144 to discuss digital denture records and workflow options.